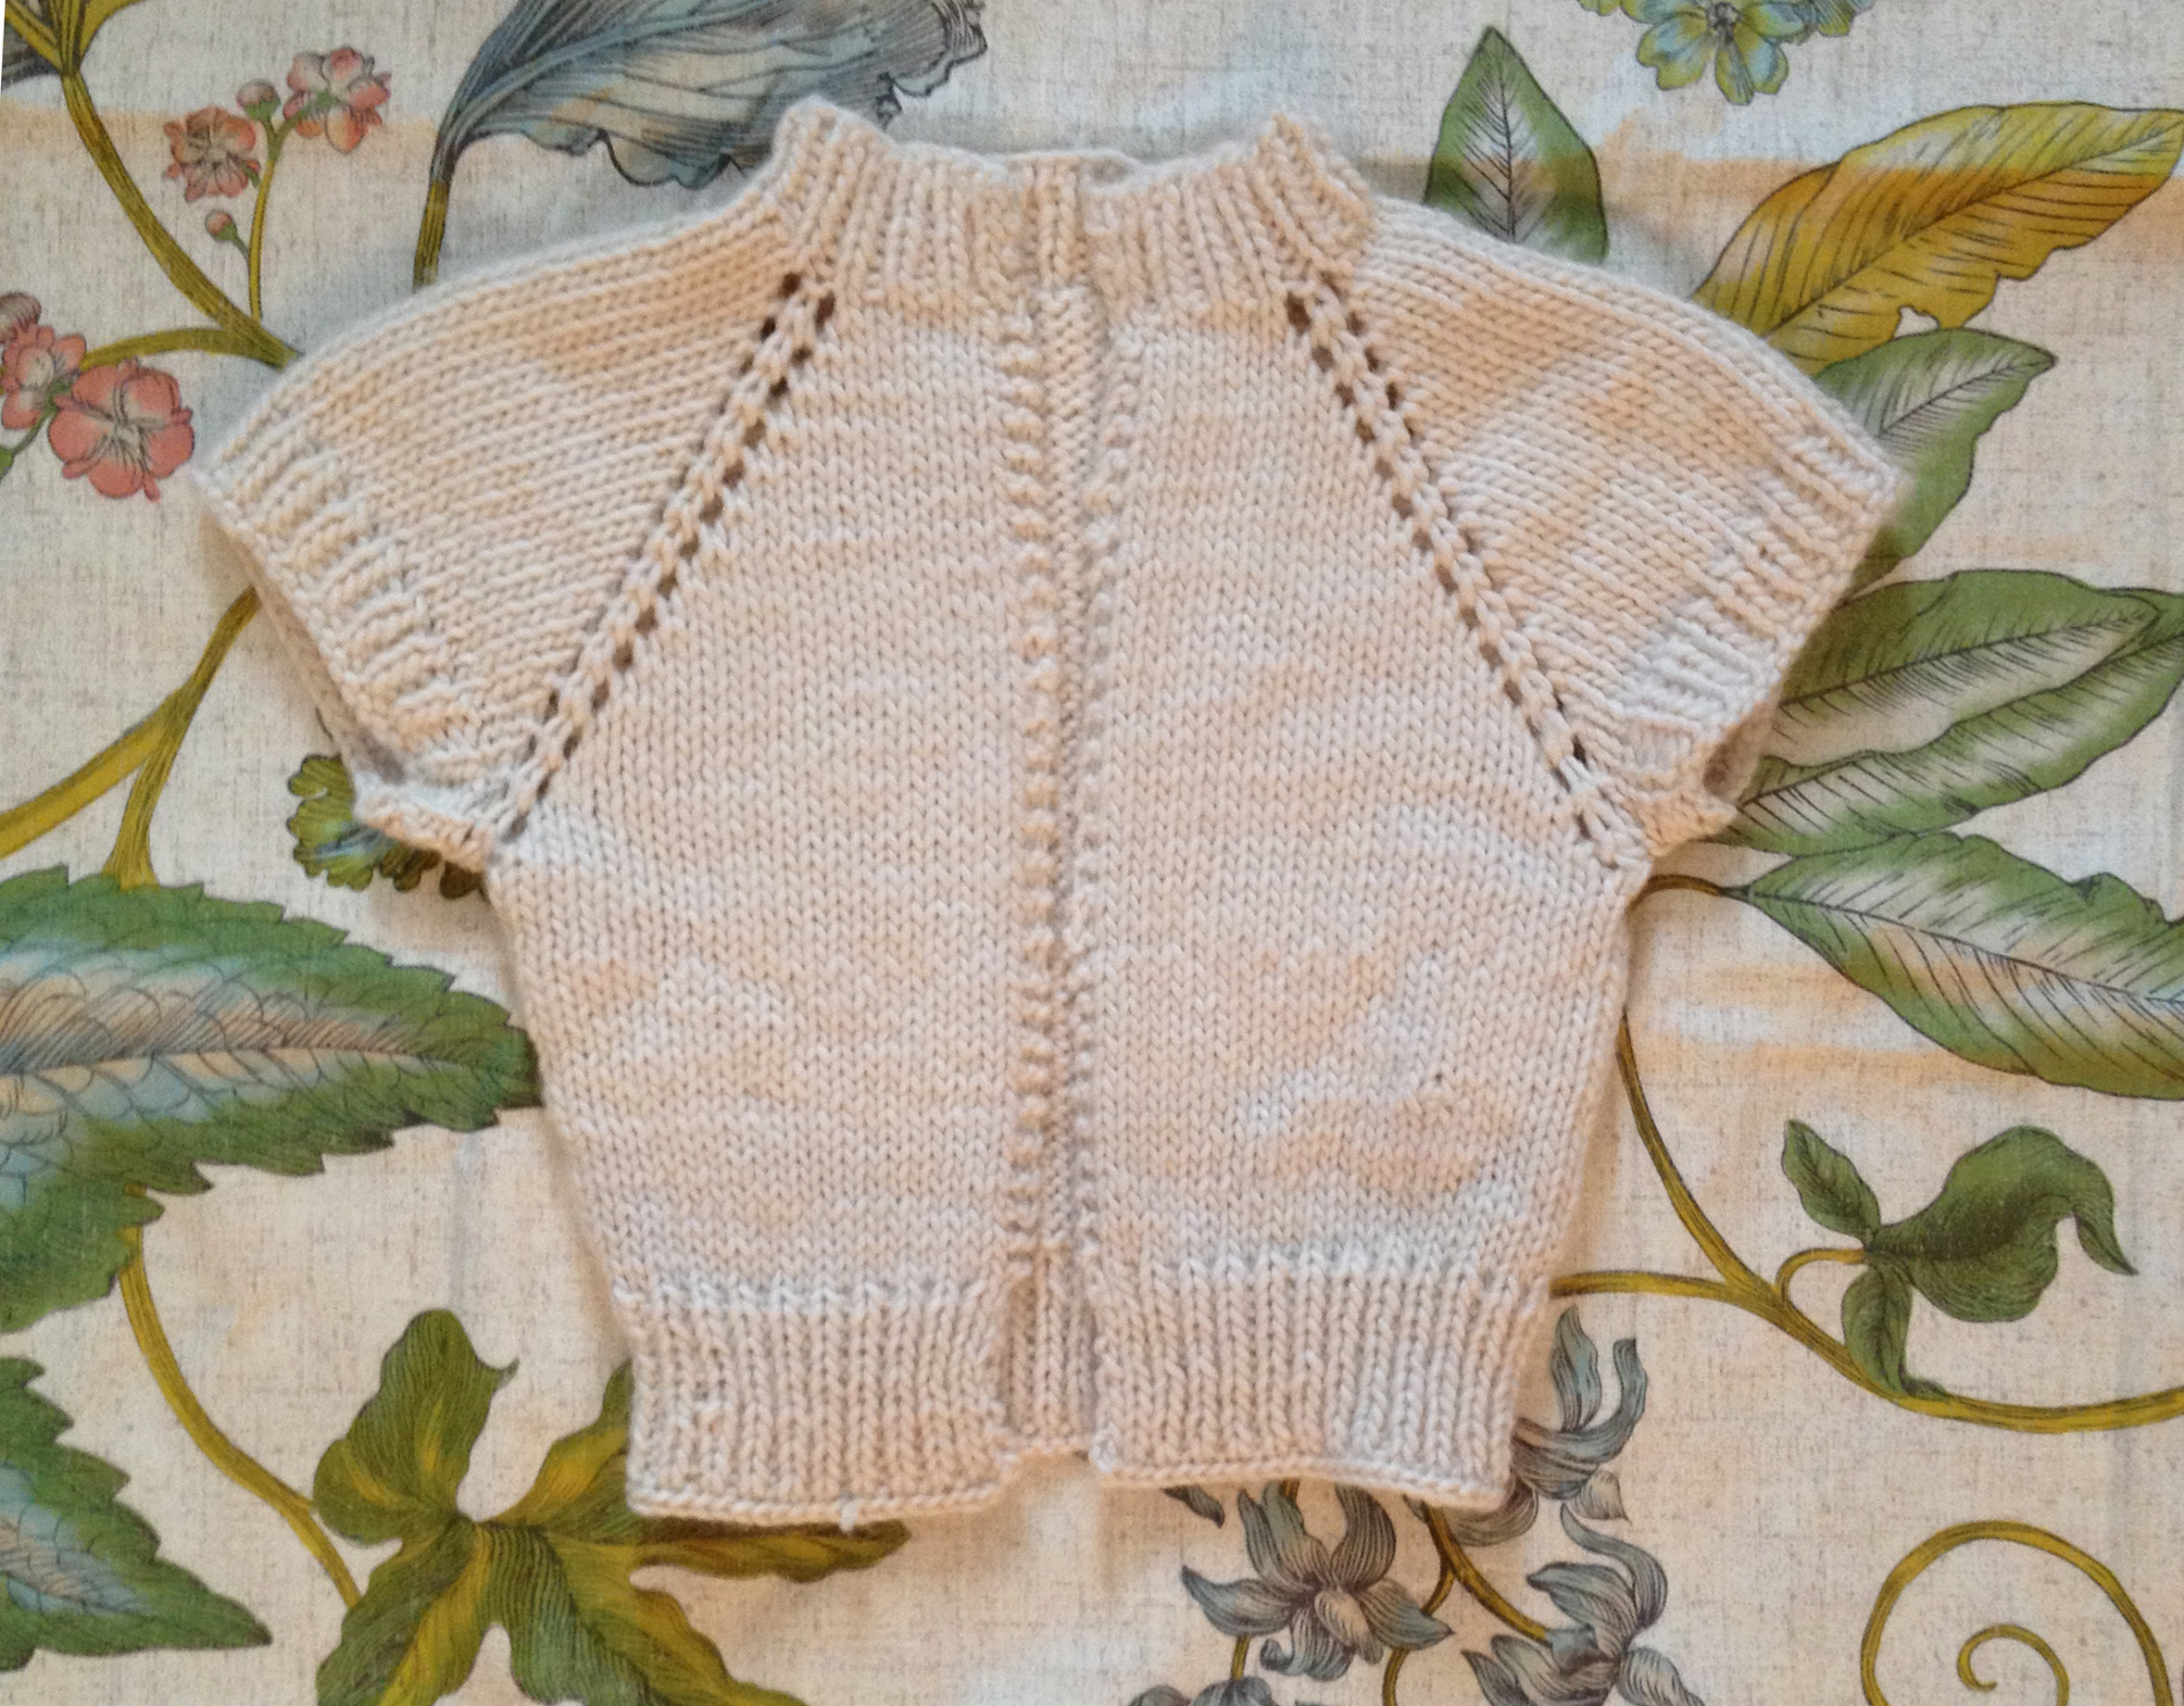
Four years after starting this project, I have finally finished this Anthropologie Inspired Shrug Sweater (pattern by Peony Knits).
One of the reasons this took me so long is because the first time I finished it, I made it way too short. It took me about 3 years to finally get the motivation to fix it. If you look in the above photo you can see the trace of the original hem that I had to rip out and recast to add more length.
The most complicated part of this for me was learning the Yarn Over stitch which took a bit until I was able to master it. I've explained in easy terms how to do it below!
Overall, this was a fun project and I'm pretty happy with the results!
It's hard for me to estimate total time this took to make since I did it over such an extended period of time (extreme procrastinator), but I'd say it takes maybe 10 hours of work depending on how fast you knit.
I've included the pattern for this below along with some of my edits.

Materials:
-4-5 skiens of Mirasol Sulka yarn (60% merino, 20% alpaca, 20% silk)
-US Size 10.5 circular needle (30")
-US Size 10.5 straight needles (optional)
-Scissors
-Yarn Needle
-4 Stitch/Place Markers (I just used little loops made from a different color yarn. You slip this over your needle before the next stitch)

Instructions:
Neckline
Cast On 49 stitches. Knit in 1x1 rib for 2" to create neckline.
Row1: start and end with Knit stitch. Row2: start and end with Purl stitch. Etc....
Raglan Increases
Body will be separated into 5 sections using your 4 Stitch/Place Markers (PM): Left Front, Left Sleeve, Back, Right Sleeve, Right Front.
To complete the Yarn Over (YO) stitch, you will just wrap the working yarn around your right needle counter clockwise before beginning the next stitch. Don't try to make this harder than it is. There is no stitch, it's just wrapping the working yarn around the right needle. This is what makes the cute little holes in the raglan.
Row 1 (Wrong Side): k2, p6, yo, pm, p1, yo, p7, yo, pm, p1, yo, p15, yo, pm, p1, yo, p7, yo, pm, p1, yo, p6, k2 (57 stitches total, 8 have been increased)
Row 2 and all Right Side rows (looking at stockinette pattern): Knit all stitches
Row 3 and all Wrong Side rows k2, *p to next marker, yo, sl marker (move place marker from one needle to the other), p1, yo*
repeat from * 3 more times, p until last 2 st, k2
Continue raglan increases until the sleeve measures the circumference of your upper arm.
End with Right Side row.
Splitting Sleeves and Body
Wrong Side: k2, p to 1st marker, move all st from 1st to 2nd marker onto scrap yarn (right sleeve).
P to 3rd marker. Move all st from 3rd to 4th marker onto another piece of scrap yarn (left sleeve).
P to last 2 st, k2.
Right Side: Knit all stitches
Continue in stockinette stitch with K2 at both edges the row until you think that the body is long enough. (The original pattern called for 4 more rows but I found this was WAY too short which is why I had to rip it out and start over- be careful here! This fits shorter in the back than in the front and you want to make sure it's long enough to meet the top of the back of your dresses.)
Switch to 1x1 rib for 2" or however long you want the ribbing at the bottom to be (I made mine about 3").
Remember if doing 1x1 rib with an odd # of stitches (I had 93 at this point) you will begin with and end with a K1 stitch in row 1 and odd rows and begin with and end with a P1 stitch in row 2 and even rows.
Cast off all stitches.
Sleeves:
Pick up all stitches one sleeve at a time from the scrap yarn. I used 10.5 straight needles for this part.
Work back and forth in 1x1 rib for 5 rows (or 2", whichever you prefer).
Cast off all stitches
Seam ribbing on sleeves.

THAT'S IT! Pretty easy, huh?
Below are some style shots of this little sweater in action!
The thing I love about this pattern is you could very easily make this into a full sweater by continuing the stitches on the sleeves and body.
It is also super cute inside out (reverse stockinette) as well. That is actually how the pattern was originally written but I changed it because stockinette makes more sense to me when I'm knitting than thinking in reverse.


If anyone makes one of these be sure to share your thoughts and photos of the finished results!